Good morning!
Hope everyone had a great National Scrapbook Day {weekend!}
This week we're sharing beautiful ideas for creating gifts for that special "Mom" in your life. Possibly a teacher, friend, Aunt, Grandma...we've got just the project.
Designer Audrey Pettit has created a beautiful tea pouch set out of burlap! This sweet gift along with a small flower would make such a wonderful gift...don't you agree??
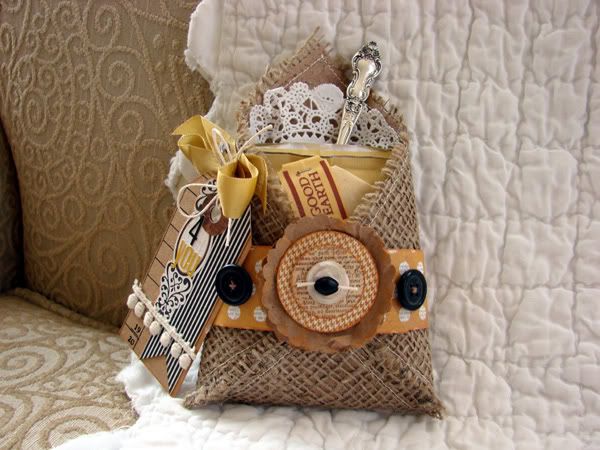

Burlap Pouch Tea Set by Audrey Pettit
Supplies:
Glue Arts Glue Glider Pro+ and High Tac Adhesive
Glue Arts Extreme Adhesive Squares
Glue Arts Micro Extreme Adhesive Squares
Patterned Paper: My Mind's Eye
Text Weight Kraft Paper and Tag: The Kraft Outlet
Stamp: Stampin'Up
Alpha Stickers: LilyBee
Punches: McGill (scalloped circle) and Stampin'Up ( 1 3/8" circle and 1" circle)
Rub-Ons: Jenni Bowlin
Reinforcer Sticker: Tim Holtz
Trim: 7gypsies (seam binding), The Kraft Outlet (hang tag string), and Webster's Pages (lace)
Buttons and Bead: Craft Supply
Ink: Stampin'Up
Doily: Wilton
Burlap: Sewing Supply
Instructions:
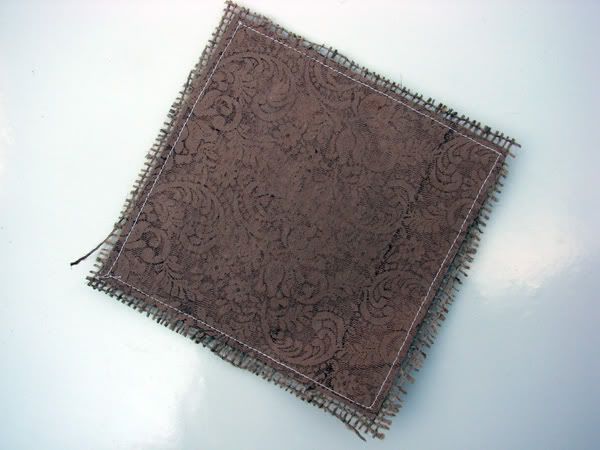
1. To get started making your pouch, cut a perfect square in any size from burlap fabric. Cut a second square a 1/2" smaller from text weight kraft paper. My burlap square for this project was 7".
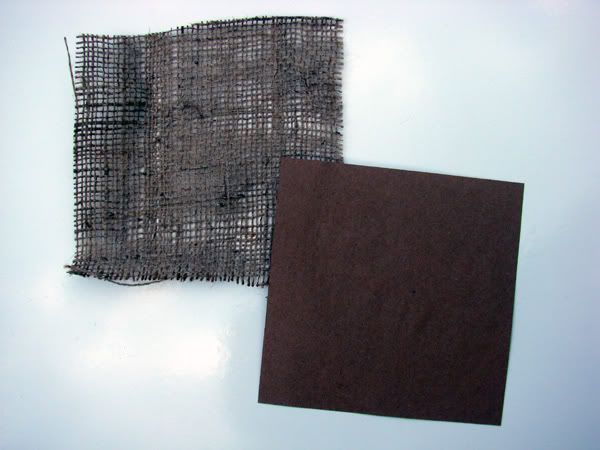
2. Stamp a pattern onto the kraft paper using a large background stamp, if desired.
Machine stitch the kraft paper square to the center of the burlap square. This will give the burlap some stability and will keep it from continuing to unravel.
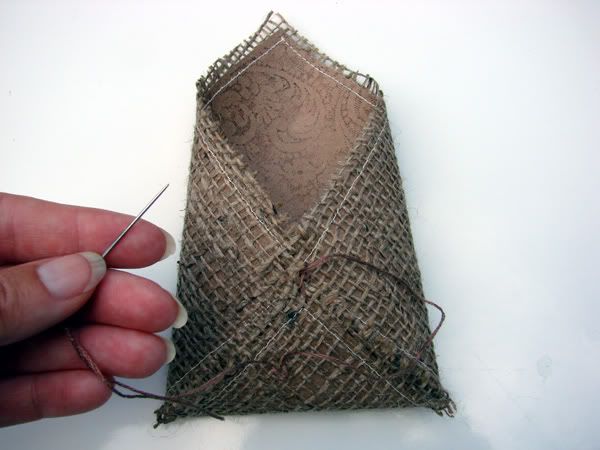
3. Place the burlap square on the diagonal in front of you, so that you are looking at a diamond shape. Fold in the left and right corners until they meet in the center. Fold up the bottom corner until it also meets in the center. Hand stitch the points together with a few stitches in the center to create the pouch.
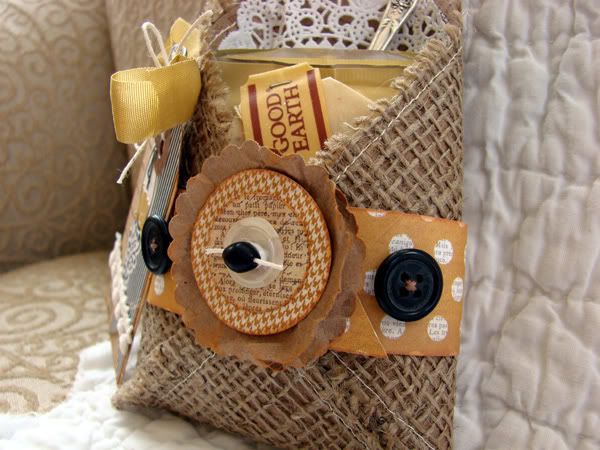
4. Cut a 1 1/2" strip of patterned paper to go around the center of the pouch.. You may have to adhere two strips end to end to get enough length to go around. Wrap strip around the pouch and adhere the ends with Extreme Adhesive Squares.
5. Punch several layers of scalloped circles from the text weight kraft paper, and a variety of circles from patterned paper. Adhere the shapes together with Extreme Adhesive Squares. Top flower with a button and a bead threaded with hang tag string. Affix flower to the belly band using Extreme Adhesive Squares.
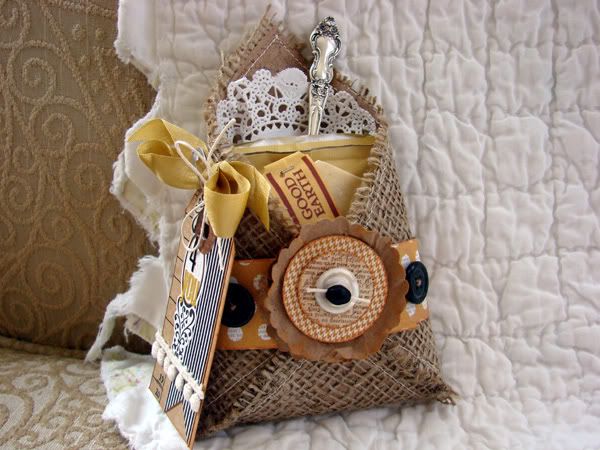
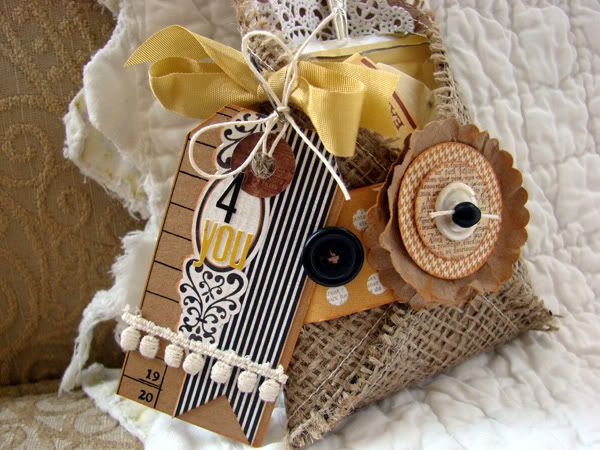
6. Embellish a shipping tag with images cut from patterned paper and rub-ons. Add a sentiment created with small alpha stickers. Affix lace trim across the bottom using the Micro Extreme Adhesive Squares, and add a reinforcer sticker to the top hole. Tie a big bow at the top of the tag and pin the tag to the burlap pouch.
7. Tuck a doily inside the pouch and fill with your favorite small treat.
We at GlueArts want to show our thanks with something special for all the Mom's and more! Now through May 14th take advantage of our PRO+ bundle! Purchase 4 PRO+ refills and one PRO handle! Already have a handle...pass it along to a friend with a cartridge! While shopping don't forget to add to your basket our designers favorite U Cut It Foam and Adhesive Squares too!!

No comments:
Post a Comment