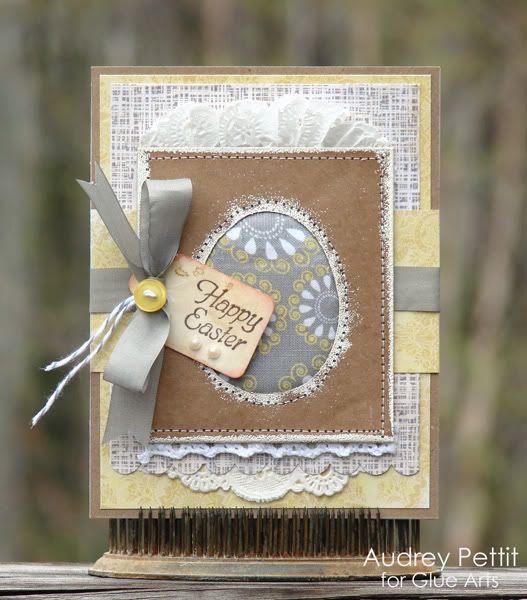
Happy Easter Card
GlueArts Designer: Audrey Pettit
Supplies:
Cardstock and Tag: The Kraft Outlet
Patterned Paper: My Mind's Eye and Studio Calico
Stamp: Stampin'Up
Trim: Melissa Frances, Wright's, and Divine Twine
Doily: Wilton
Ink: Tsukineko and Stampin'Up
Embossing Powder: Stampin'Up
Border Punch: Stampin'Up
Pearls: KaiserCraft
Button: Foofala
Fabric and Batting: Sewing Supply
Recycled Chipboard
1. Create a layered card base using cardstock and patterned papers. Start with a base of kraft cardstock. Add a second layer of yellow patterned paper, followed by a third layer that was punched at the bottom with a scalloped border punch.
2. Adhere a small piece of doily under the scalloped border. Cut a thin strip of the yellow patterned paper to go across the center of the card.
3. Adhere seam binding ribbon across the center of the card using Glue Arts Ribbon Adhesive.
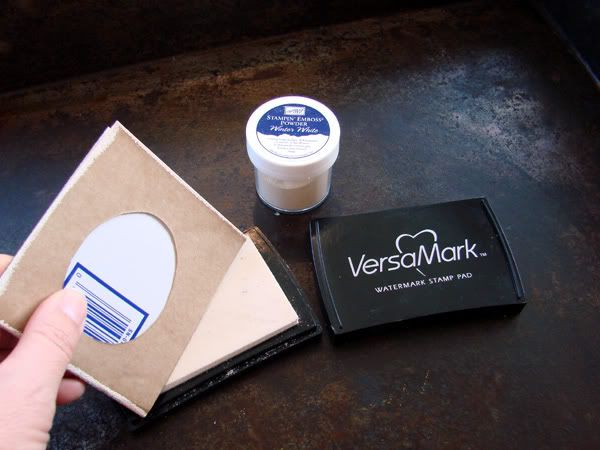
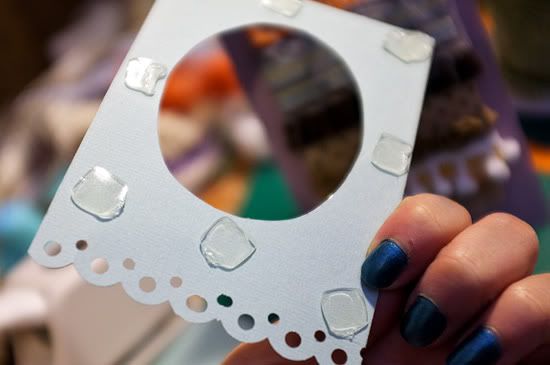
4. Cut a piece of recycled chipboard that is 3" x 7" and fold in half to create a 3" x 3.5" pocket. Hand cut or die cut an Easter egg shape from the top flap of the folded chipboard. I used a template that I downloaded from the internet.

5. Press each edge of the chipboard into embossing ink and embossing powder and then heat set using an embossing tool. Using a Q-Tip or sponge to apply the ink, repeat the steps above to emboss the inside curve around the egg.
6. Lay a piece of batting between the chipboard flaps, followed by a piece of fabric.
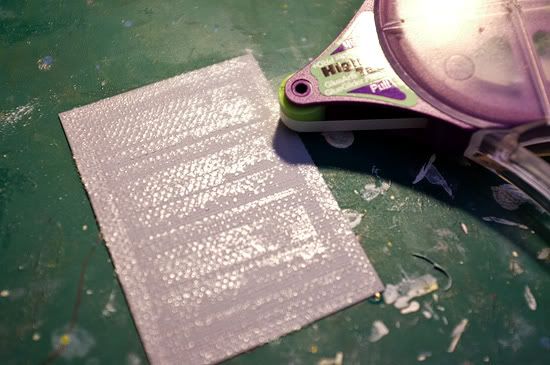
*Tip: to keep the fabric from slipping and moving, lightly adhere them with a bit of High Tac adhesive.
7. Close the chipboard together and machine stitch around the edge and the inside egg.
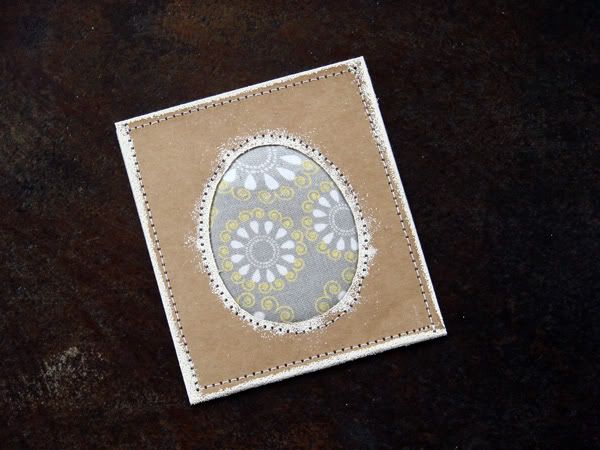
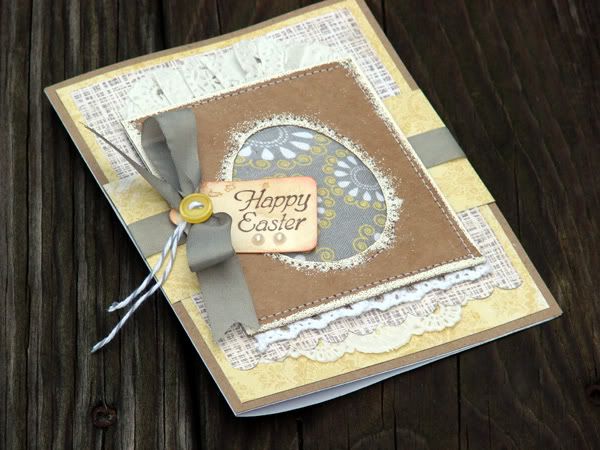
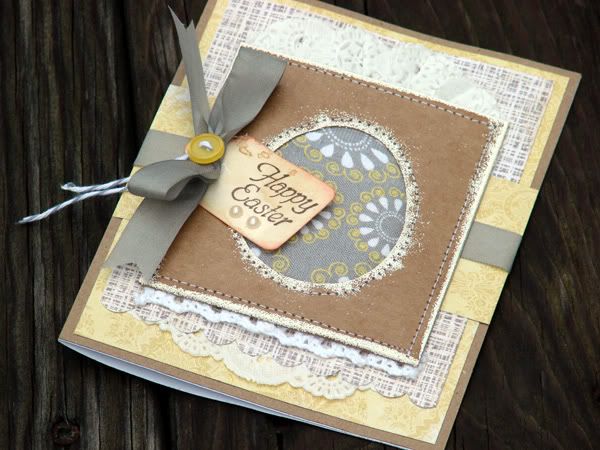
8. Adhere lace trim along the bottom of the chipboard and ruffled paper doily across the top edge using Glue Arts Ribbon Adhesive. Affix chipboard panel to the card base using Glue Arts Extreme Adhesive Squares.
9. Add a hand-stamped tag and a bow and button to the left of the card using Extreme Adhesive Squares. Embellish with adhesive pearls.


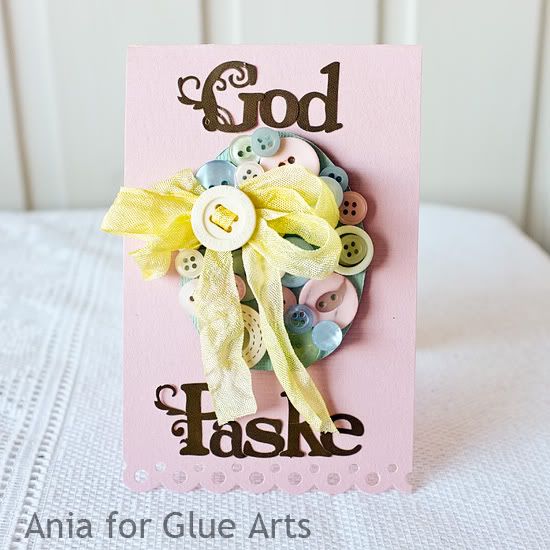
Easter Cards
 GlueArts Designer: Ania Lexander
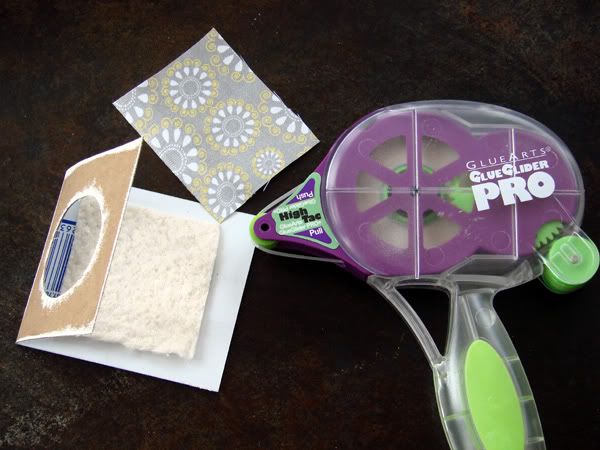
Glue Art Supplies:
Glue Glider Pro - High Tac, repositionable adhesive
Glue gun - Hot glue
Extreme Adhesive Squares - small and large
Raisen's
U Cut it
Other: Assortment of buttons, Bazzill cardstock, seam binding ribbon, letters from American Craft and Fancy Pants, assortment of ribbons from Fancy Pants and Maya Road, egg template, Ingvild Blome craft knife, Fiskars edge punch, Maya Mist - sunflower yellow
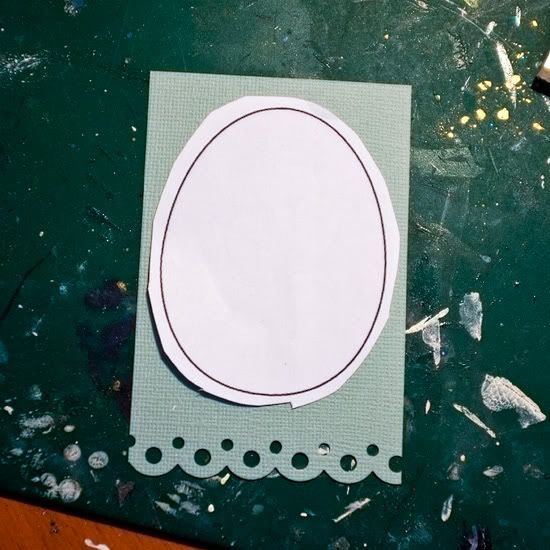
Print and roughly cut an egg template. Adhere to piece of cardstock w/repositionable adhesive, cut around the shape w/a craft knife.
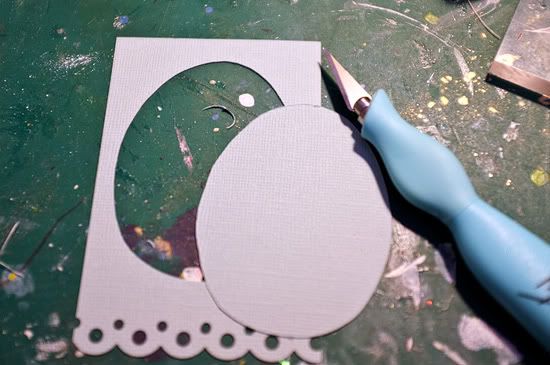
Save both parts!
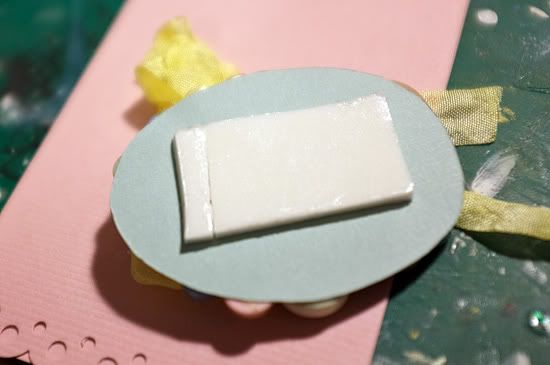
Take another piece of cardstock - to fill the negative shape of the egg. Apply high tac onto the piece.
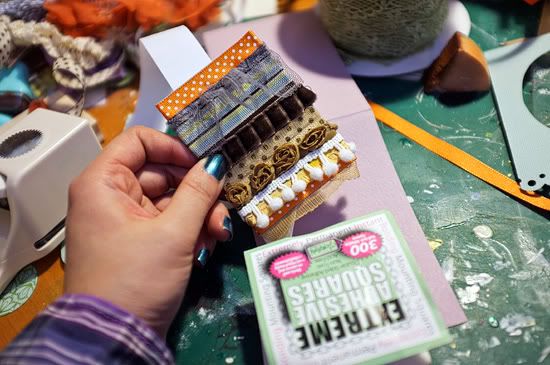
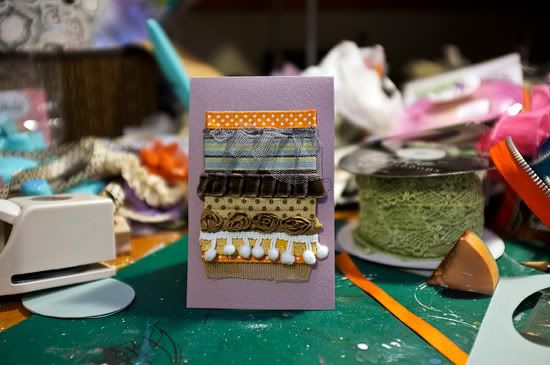
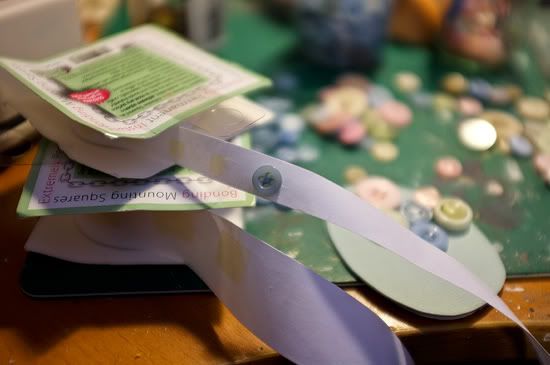
Add ribbons, and use the extreme adhesive squares to add the ribbon-square to the card.
Using Raisen's (in hindsight - the ribbon was fairly thick, so I should probably have used U cut it foam here instead) and add the egg-shape onto the ribbons.
Take the egg shape and cover it with buttons
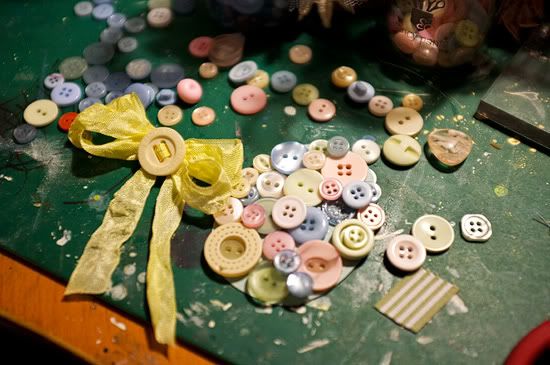
Lightly mist the seam ribbon with mist, lighten the color w/water. Let dry. Add a ribbon to a large button and attach w/hot glue.
Apply to card w/U cut it foam.

Did you hear the news this week??
GlueArts is having an Egg Hunt!!!
 Simply find the five letters posted Monday through today to reveal your promotion code for 20% off your entire online order!
 The code will be active April 7 & 8th! And even better...we're offering free shipping as well!
So put your sleuthing skills to work and find those eggs we've hidden for you!! Then unscramble and you've got your promotion code for some shopping fun!
No comments:
Post a Comment